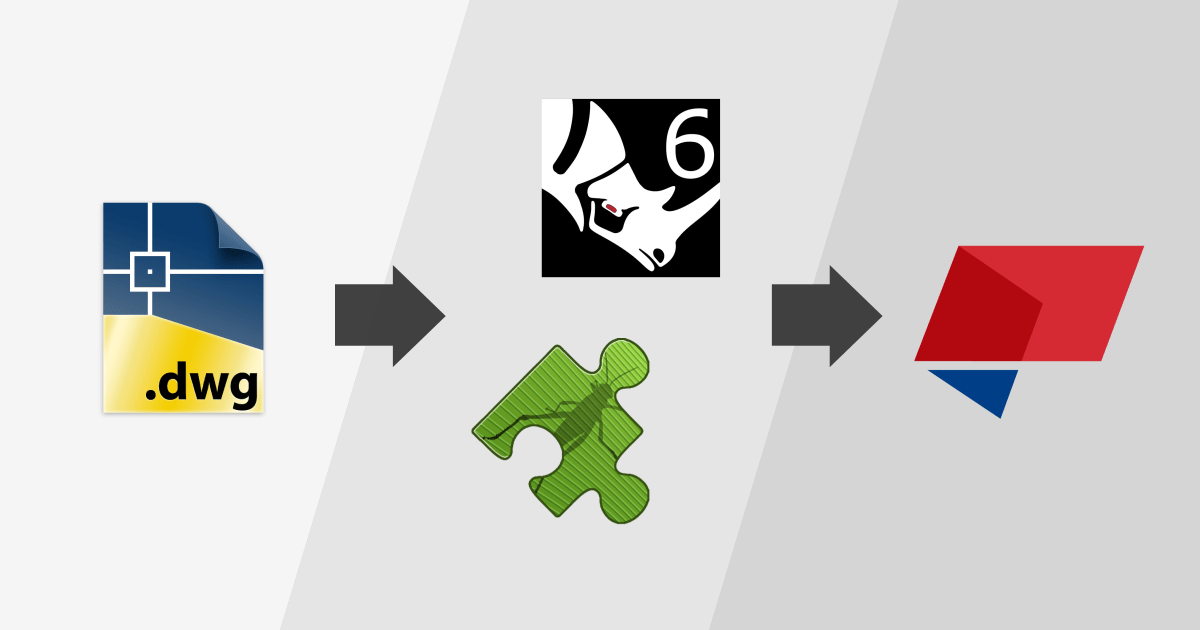
Working with various design teams that use various design software, we are forced to work with various file formats. The DWG extension is one of the most popular formats used in the AEC industry and usually the second choice after IFC for information exchange. In this short post, I would like to show you how to convert 3D solids from DWG file to native Tekla Structures elements using Rhino. Of course, Tekla Structures has a built-in DWG import module, but in many cases, it may prove to be unreliable.
1. Start Tekla Structures and check units
Create an empty project in Tekla Structures (or open a project you are working on). Make sure the project units are set to millimeters.
File > Settings > Options > Units and decimals

2. Start Rhino and check units
Create an empty project in Rhino. As in the Tekla Structures case, we have to be sure that Rhino project units are set to millimeters.
Tools > Options > Units
Remember that the starting order is very important here!

3. Import 3D DWG to Rhino
Now, let’s import your DWG file to Rhino.
File > Import…

Selecting „Import’ will pop up the „Import options” window. Set all settings as Default, but stop at Model Units and Layout Units. These two options are correlated with units being used in DWG file and Rhino. If your DWG has originally created in meters, set Model Units to meters and Layout Units to millimeters. In my case, DWG has created in meters.

The easiest way to check if the units are correct, draw in Rhino a simple line between two points. The length of the line will be shown on the bottom of the Rhino window.

4. Verify geometry type
The next step is to verify the geometry type. If you click on any element of the model, on the right sidebar will show the object properties tab. The „Type” value must be „closed solid polysurface”. If the value is „Block reference”, you have to explode selected item or all elements.

5. Run Grasshopper plugin inside Rhino
Now it is time for Grasshopper which is a built-in tool to the Rhino software (if you are using Rhino 5 or older, you can download Grasshopper from official site).
Tools > Grasshopper or Command: Grasshopper
Additionaly, we also need a component to connect Grasshopper and Tekla Structures. It’s called „Grasshopper-Tekla Live Link”.
Instrukcja oraz dokumentacja plugin

6. Create a short script in Grasshopper
To create a script in Grasshopper, you don’t need any programming knowledge, so let’s go straight to action !
From the Parameter tab, choose the Geometry component to pick all geometries from Rhino. Then from the Tekla tab, drag to canvas a Concrete Item and connect it to the Geometry component which you have chosen before.

The last thing is to set elements that would be converted to Tekla Structures. Click Right Mouse Button on Geometry component and choose Set Multiple Geometries. Select all elements in Rhino viewport and press „Enter” to confirm.

If you have any trouble with creating a script, I have attached it below.
7. DWG inside Tekla Structures
Go back to the Tekla Structures. Do you see the same geometry as in Rhino? Great. Everything went perfect. Now you can edit whole elements as native Tekla geometry.


